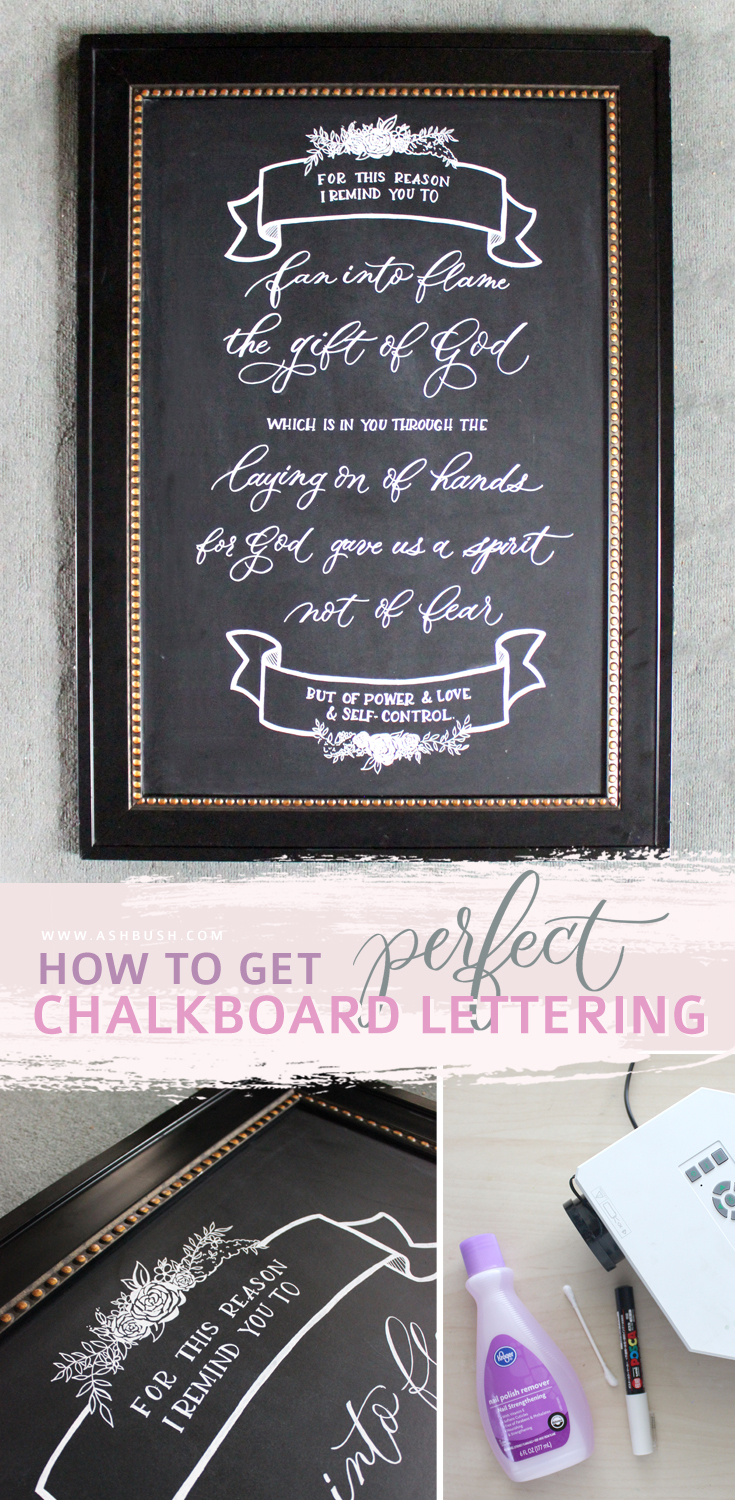
How To Get Perfect Chalkboard Lettering
So you had a client request a big design for some chalkboards, easy enough right? But then you get into it and you've had to erase and start over multiple times, projects like this can turn into time and money sucks real fast. How do you create the perfect design without spending a ton of time on it? Here's a glimpse at my process for when I need more precision than just free-handing a chalkboard design. It usually actually ends up saving me time in the long run because I don't have to worry about erasing or fixing big mistakes. This post may contain affiliate links.
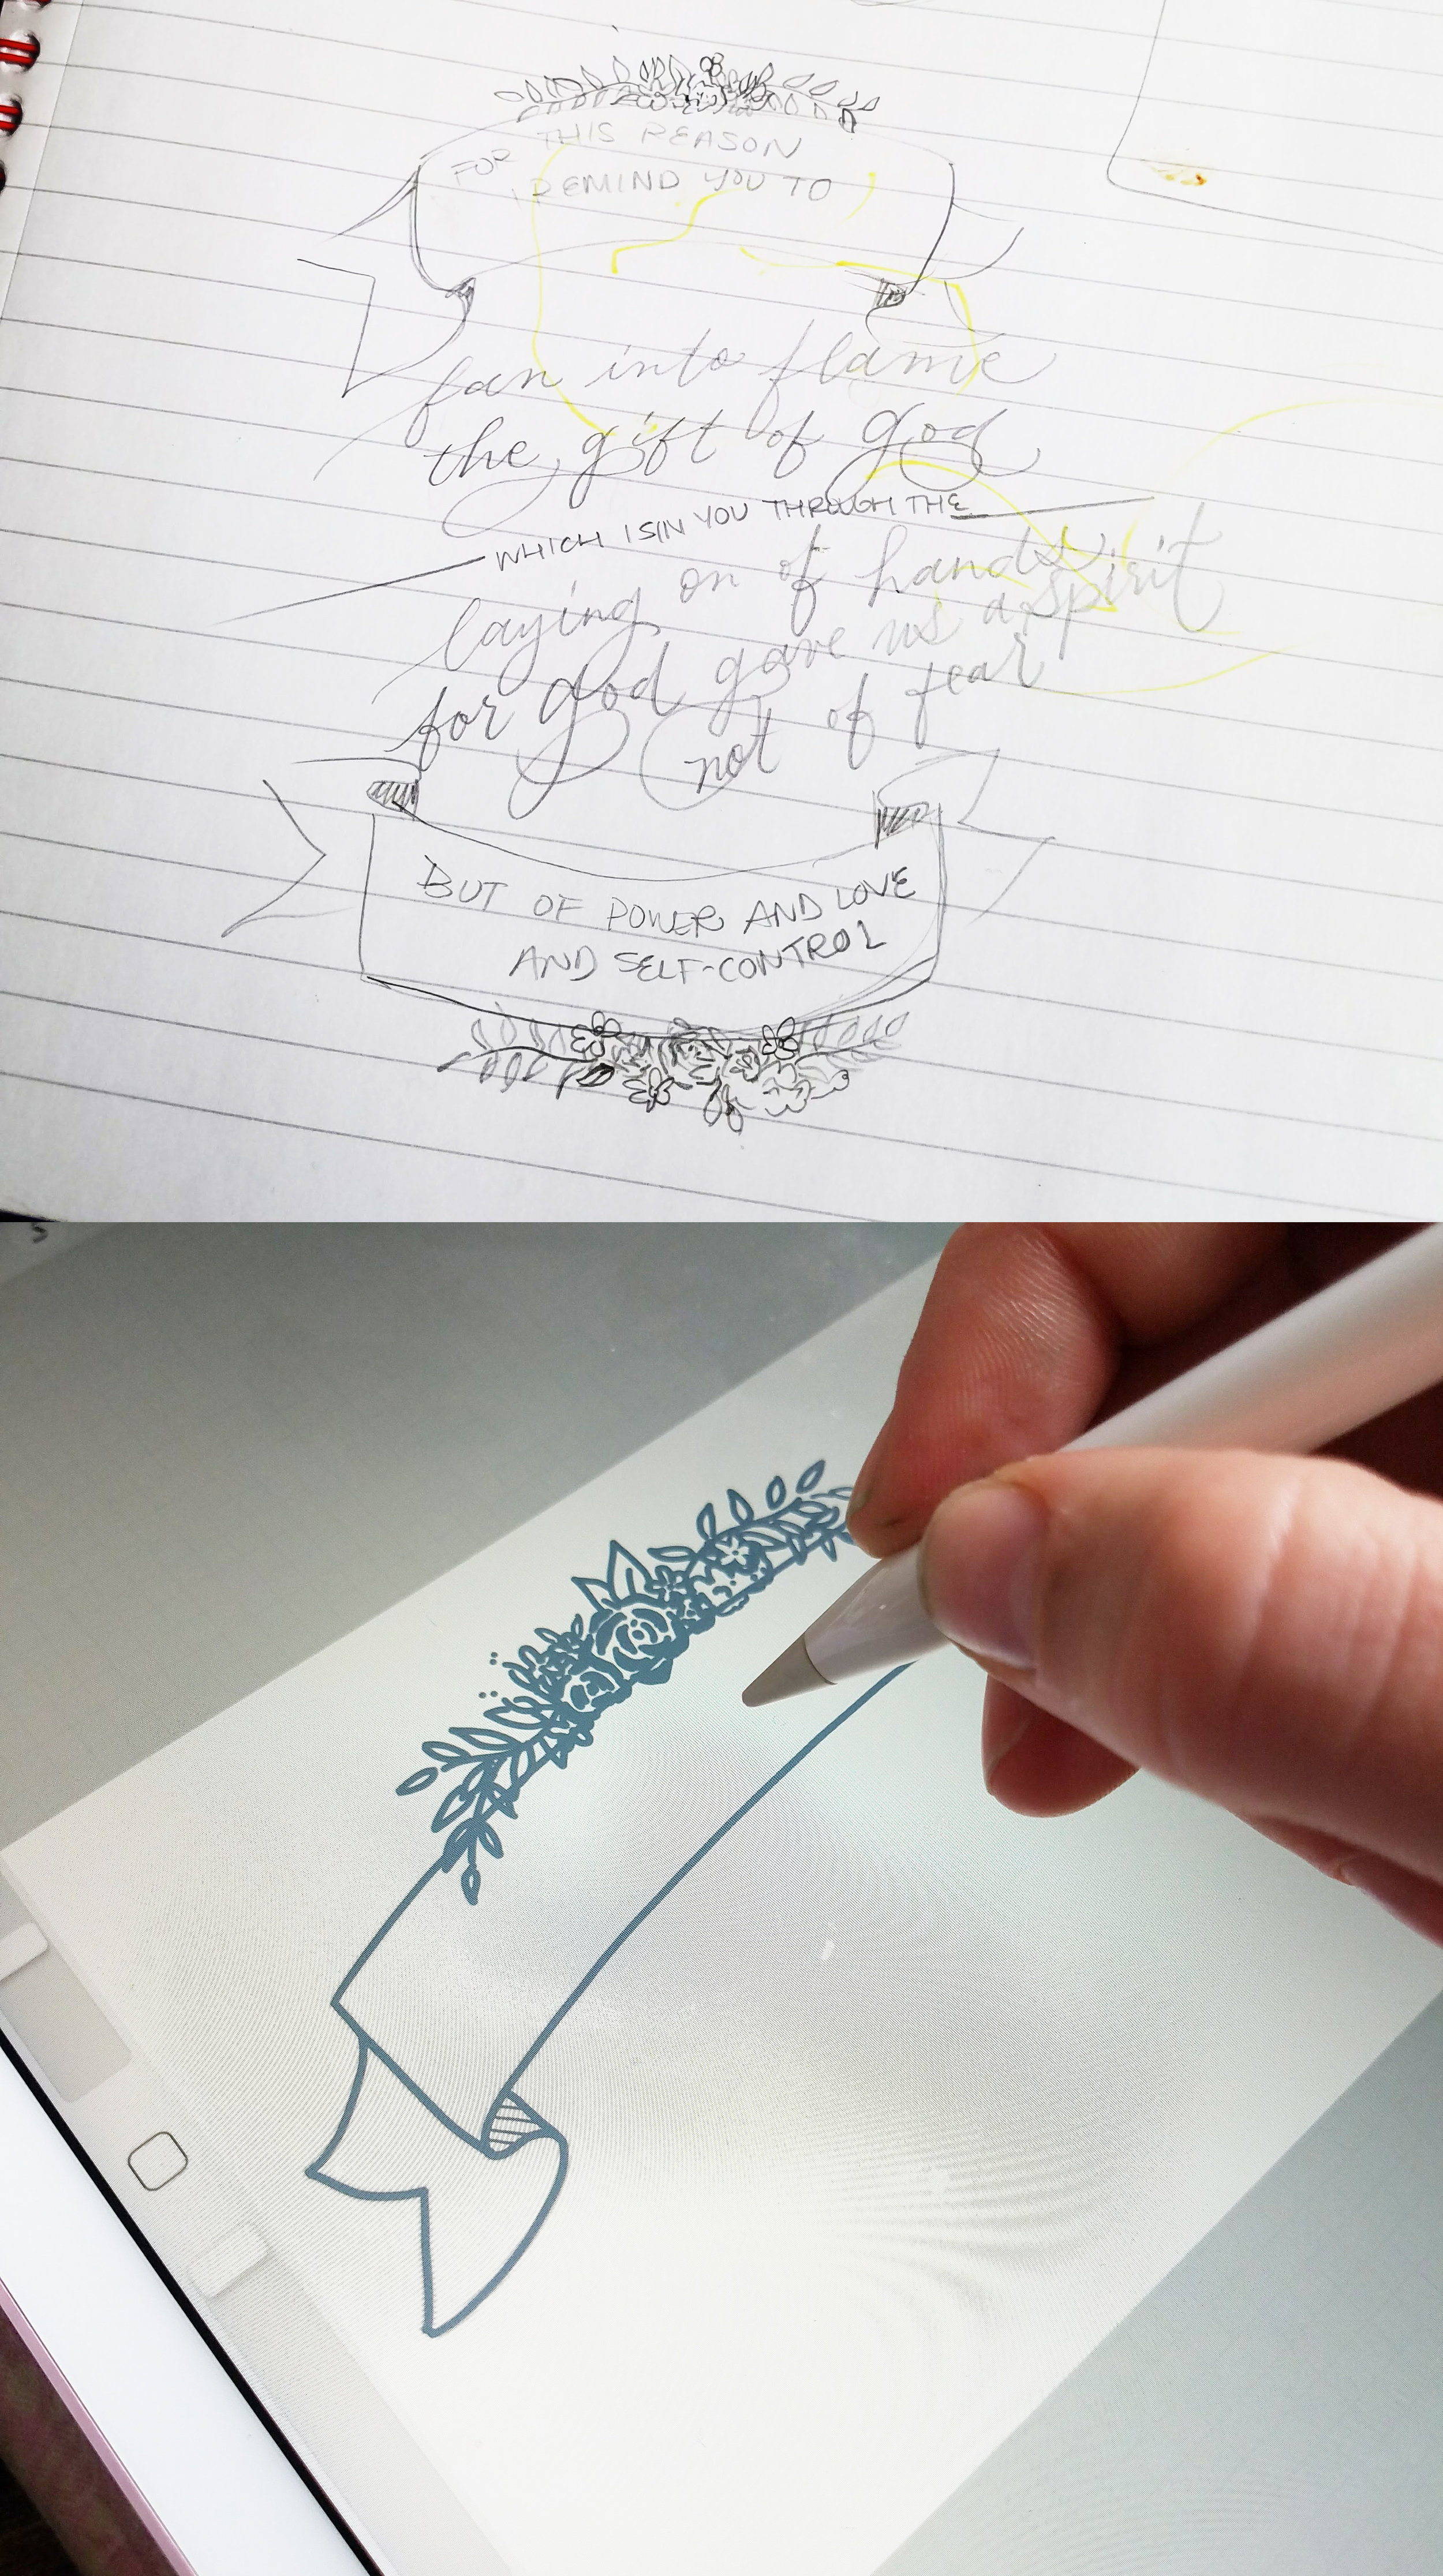
Initial Sketch
Self-explanatory. This is for rough ideation, trying out concepts, etc. This should be really rough so you don't feel bad erasing, starting over and scrapping ideas.
Hand-drawn Elements
I use the iPad Pro, Apple Pencil and Procreate App to draw out my final concept.
Finalize Design
Then I move to my computer and open up the design in Photoshop to adjust the layout, add some type, etc. This step isn't necessary, I'm just most comfortable in Photoshop. You could easily mock up the whole thing in the Procreate app on your iPad.
TIP: You could sketch the whole thing out on paper, scan it in and save it directly to your flash drive and skip the Procreate and Photoshop step :)


Invert Colors
After the design is finished I change the background to black and make the design a bright neon color so it'll be easy to see when projected onto the chalkboard and I'll still be able to see my white marker overtop of it.
Project it onto the Chalkboard
I use this projector. I save my design onto a flash drive and then attach the flash drive directly to the projector. Make sure the image is focused and center on the chalkboard before getting started!

Trace
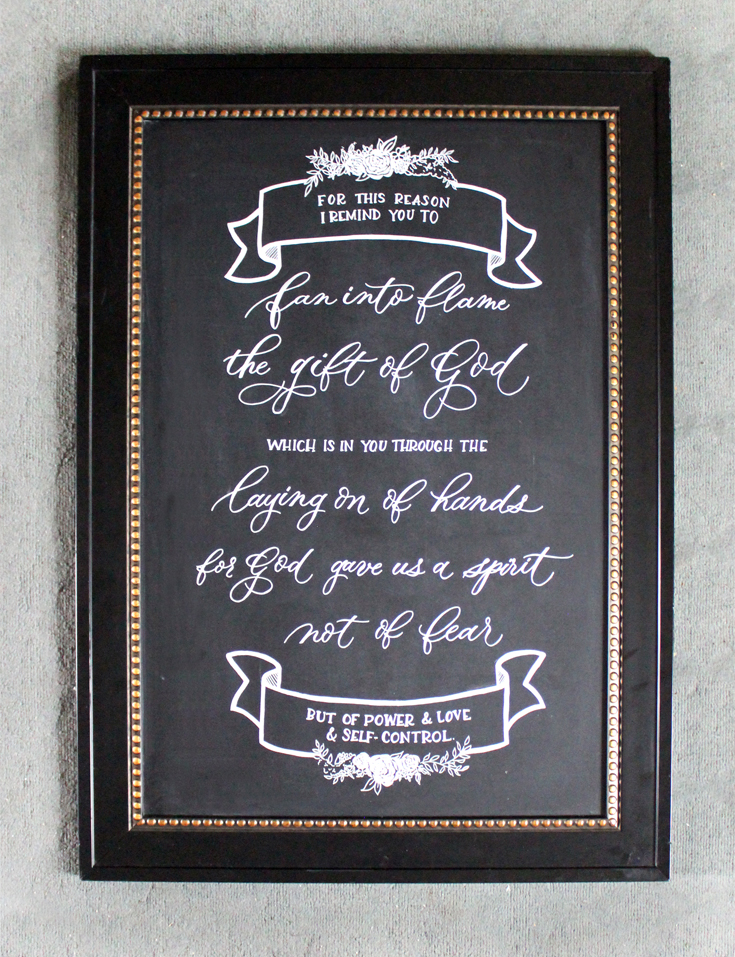
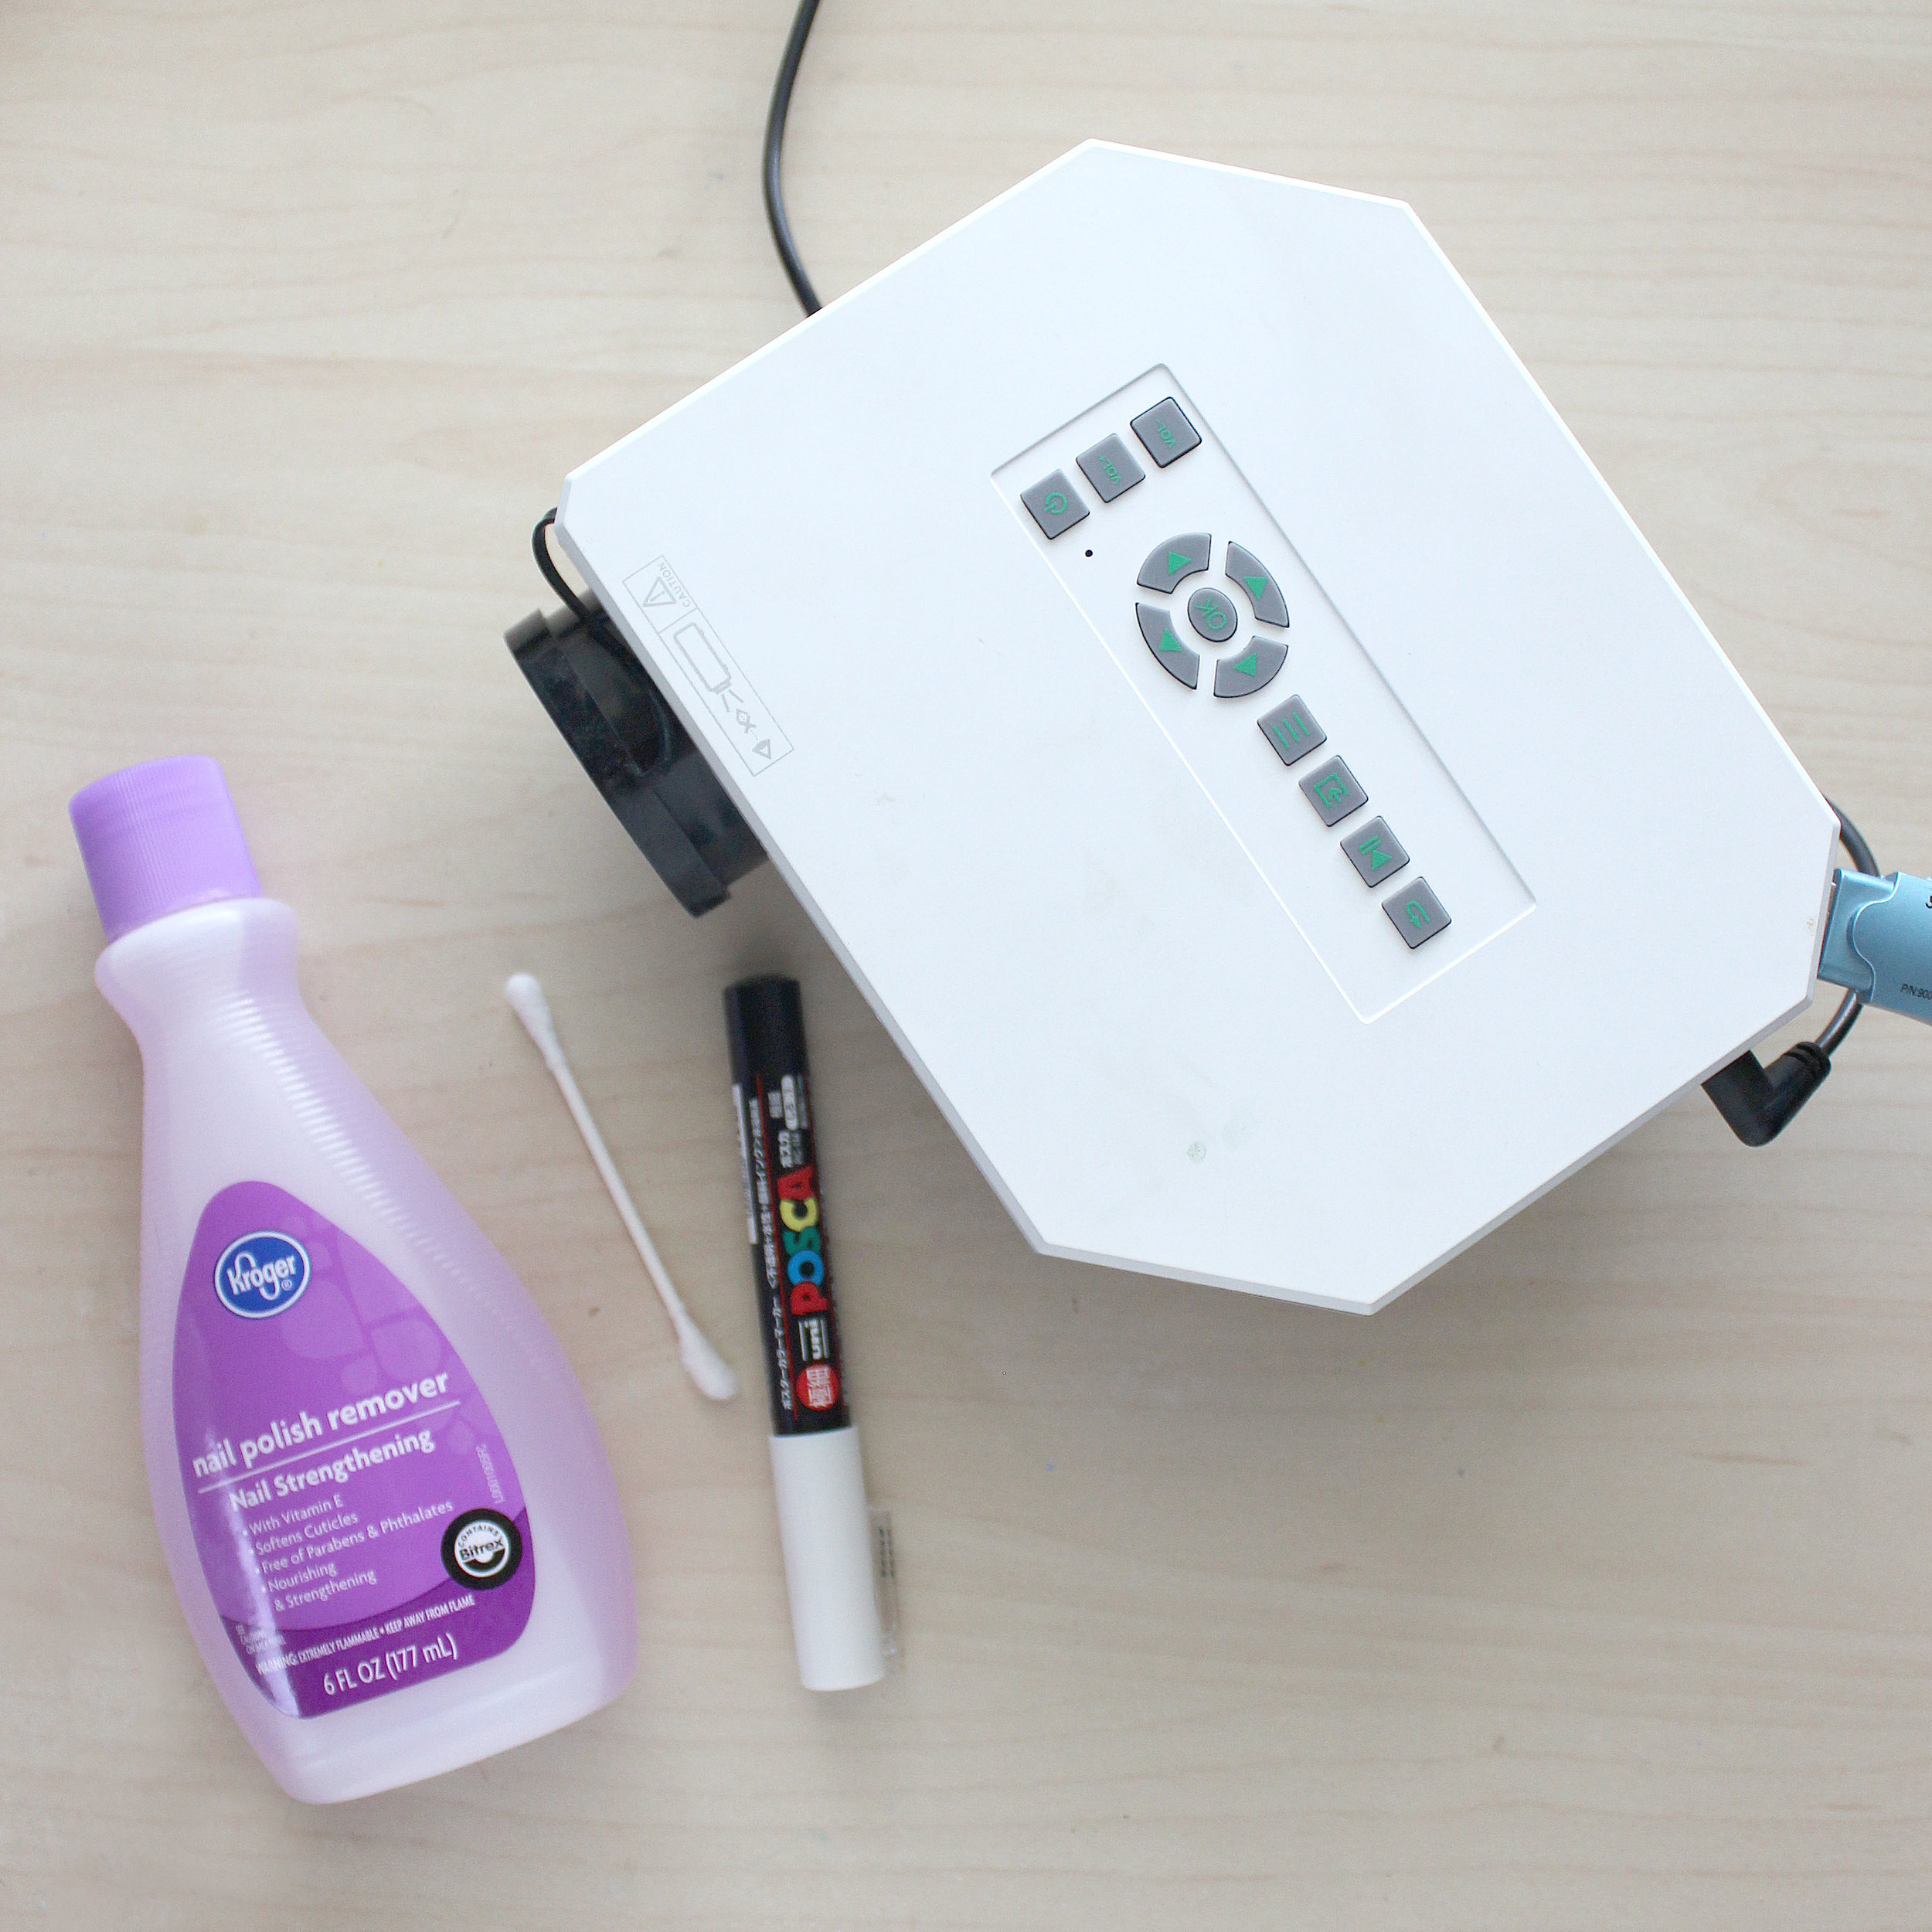
The fun part! I use a Posca Paint Pen and start tracing over my design. One and done, no having to re-do the whole project! I also love using this technique for murals or painting on walls, doors, any big object.
Mistakes
We're only human, there will inevitably be mistakes. But correcting them is easy: nail polish remover! Grab a q-tip, dip it in the nail polish remover and slowly erase those mistakes.